
You can make your nails look more beautiful by applying creative nail Designs to it. The best part is that you can make these nail art Designs yourself at your homes. But the only problem is to find out that out of so many Designs, which will suit to your nails the best. Thus in this article, we will present before you a list of the 15 easiest to-do-at-home art Designs for the beginners.
1. A colorful Splash
In these few favourite shades of nail polish is required with cotton pads and toothbrush. For removing the paint, nail polish remover is required. White polish is used for the base and coated with the shades of other paint which are stroked by the toothbrush. The extra nail paint can be removed with the help of a Nail Polish remover.
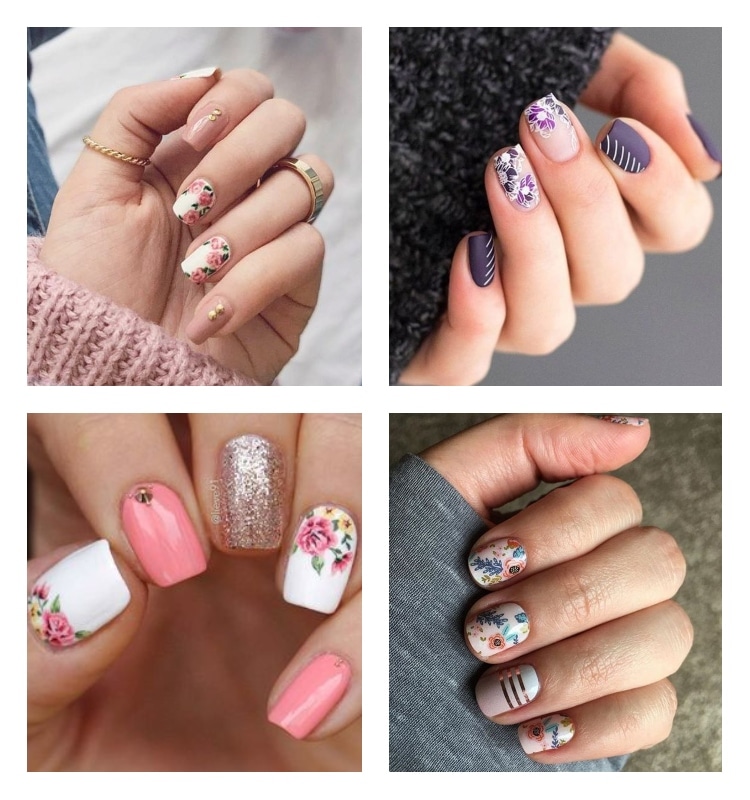
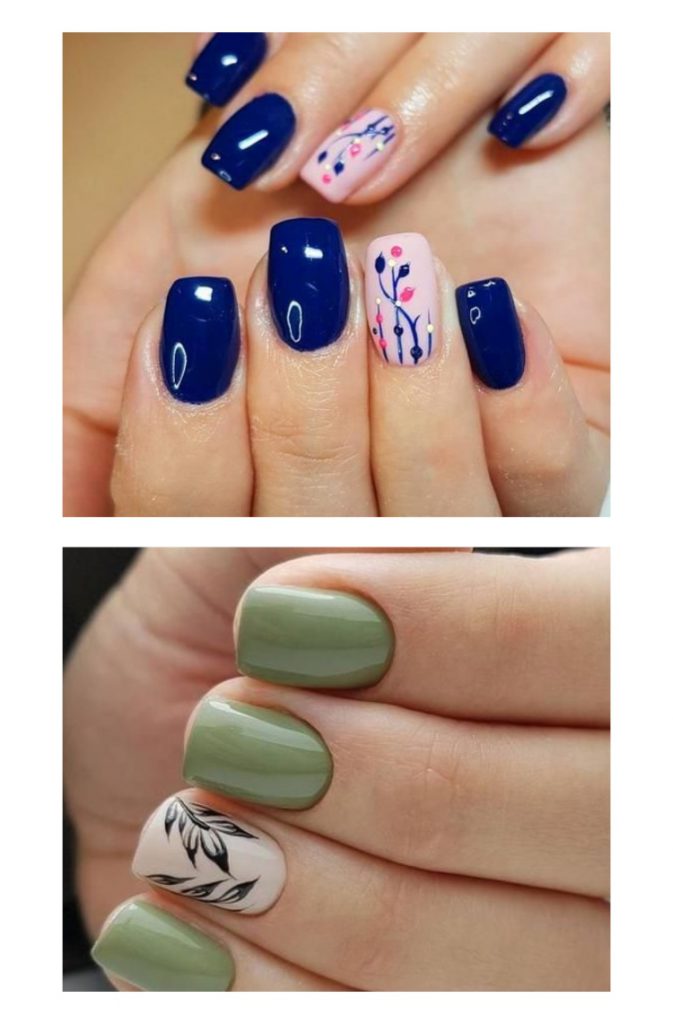
2. Basic floral Nail Art Design
A thin nail art brush is required with floral colour nail paint. After applying the coats of Polish, flowers can be made with the help of a brush. Extra detailing of green leaves can be added.
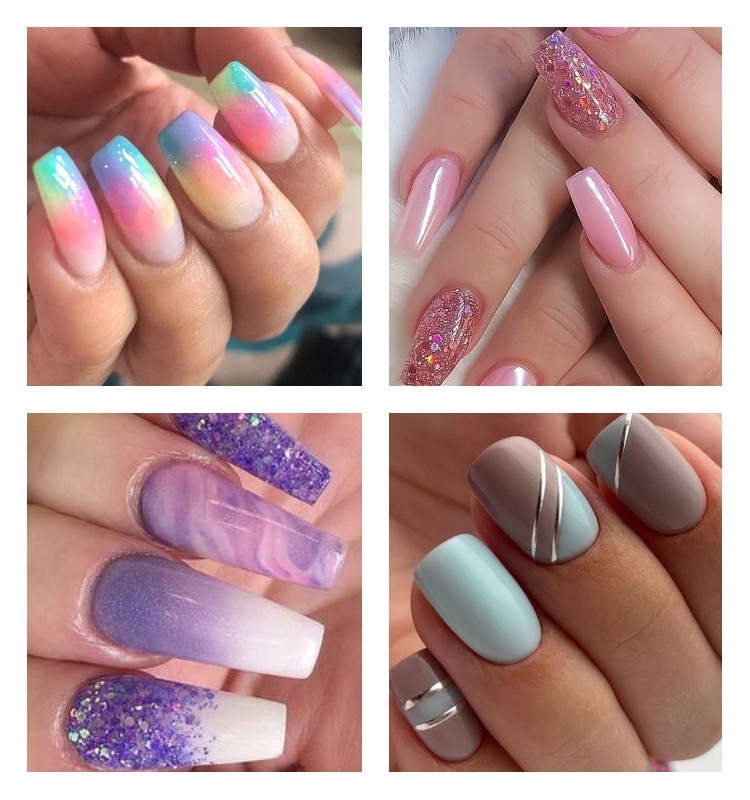
3.Peek boo Nail Art
It requires a plastic wrap where the coat of aqua nail polish is put over the nail and the final layer of Nail Polish is attained by the finishing of the paint.

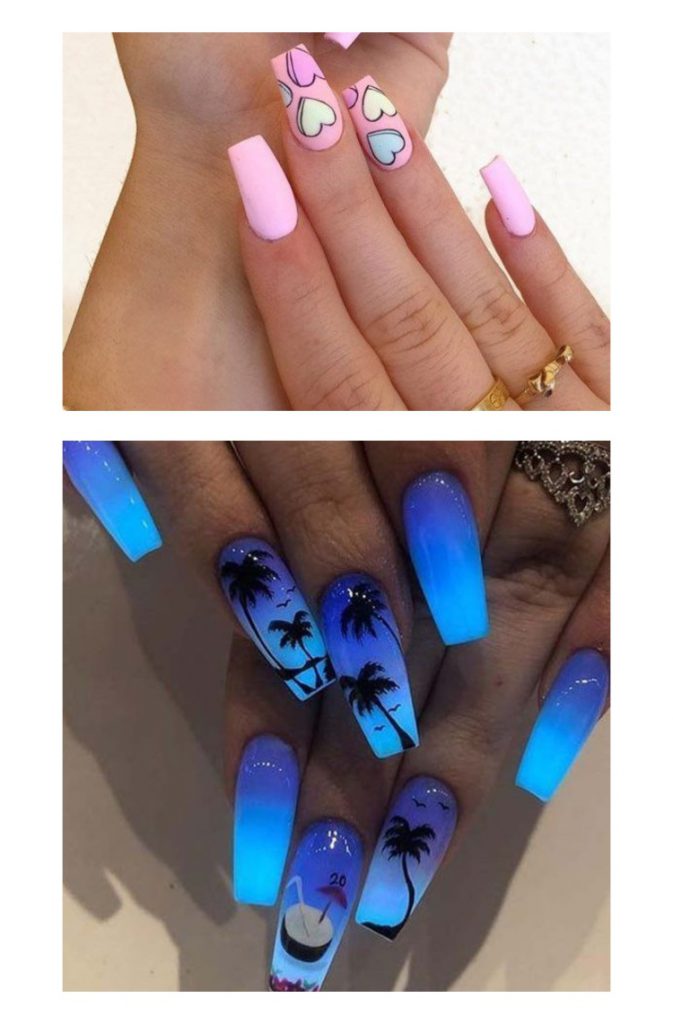
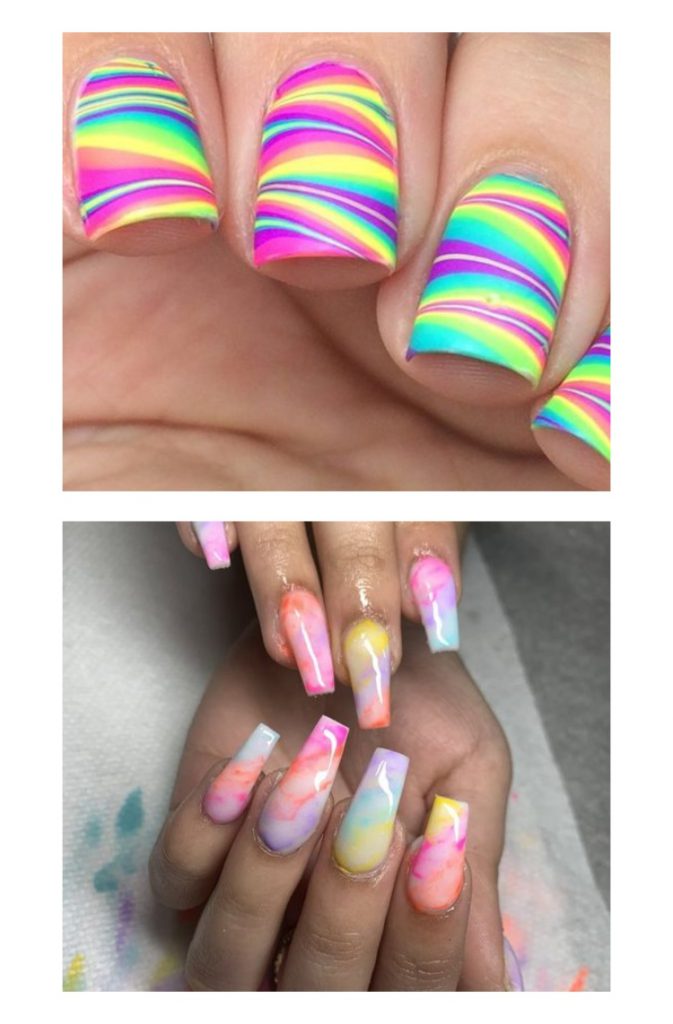
4. Ombre Nail Art Design
It needs a clean sheet where pink color paints is poured and with the help of toothpick shades are blended and the final look is attained.
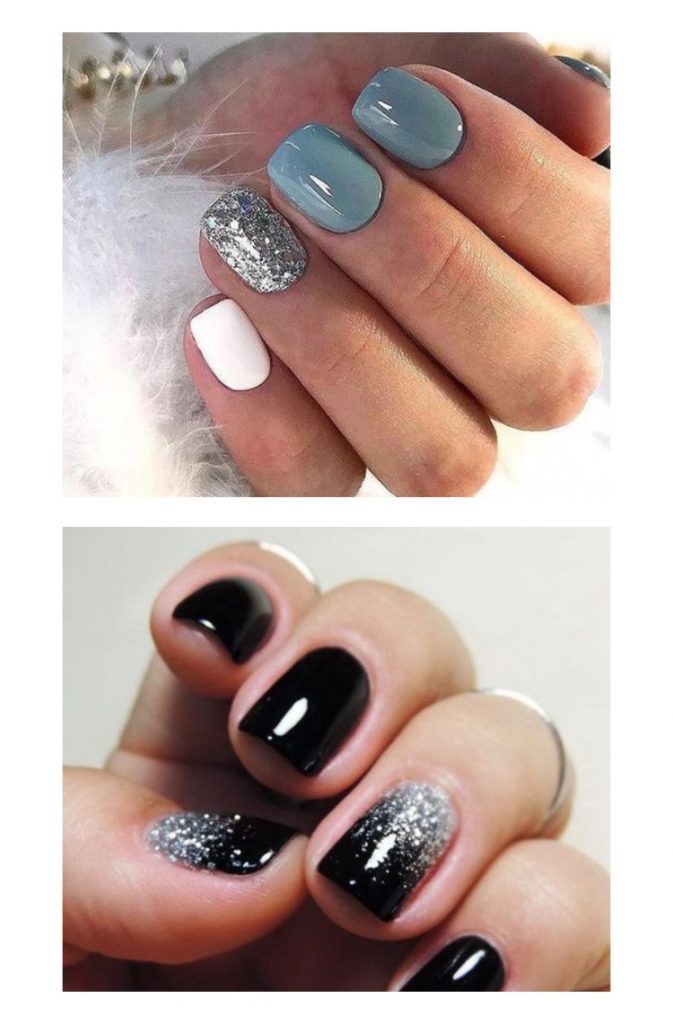
5. Dual Tone Nail Art Design
In this the design is attained from black and gold shade of Nail Polish or any other two contrast Nail Polish with the help of scotch tape, it should be allowed to dry and then uncover the tape.
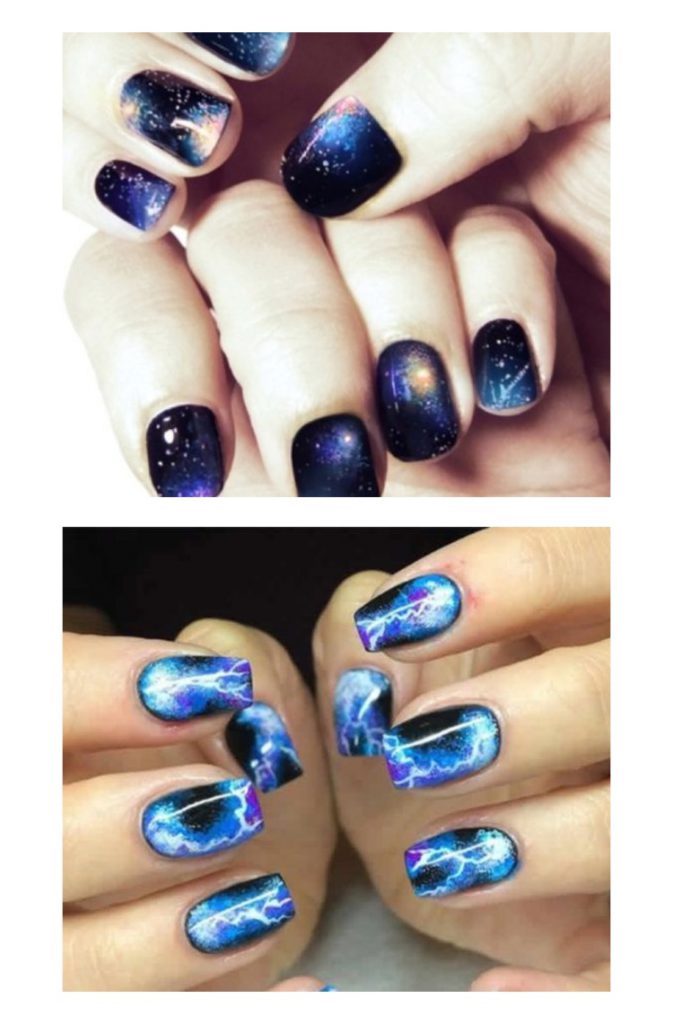
6. Galaxy Far nail art
Black polish is applied after its green shade is applied by dabbing it with a sponge on the nails and left to dry for a finished look.
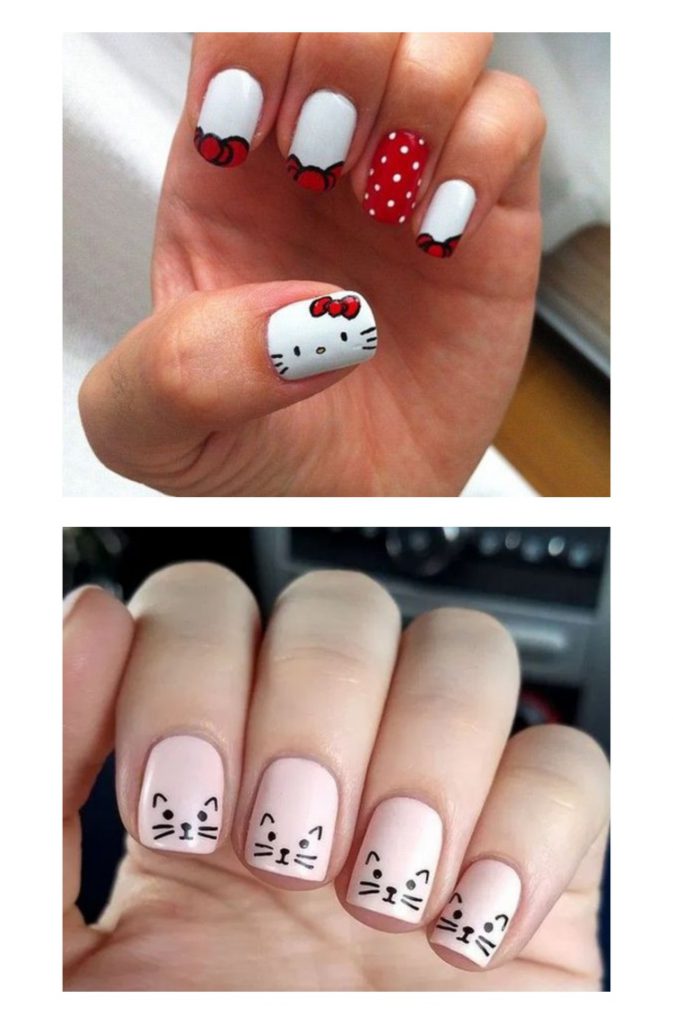
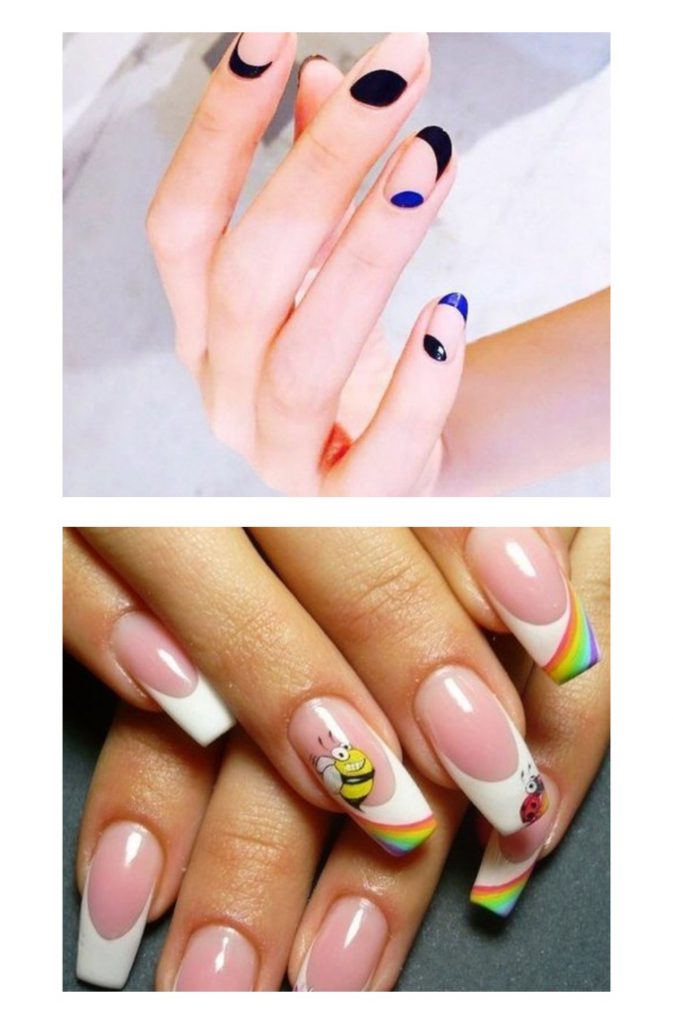
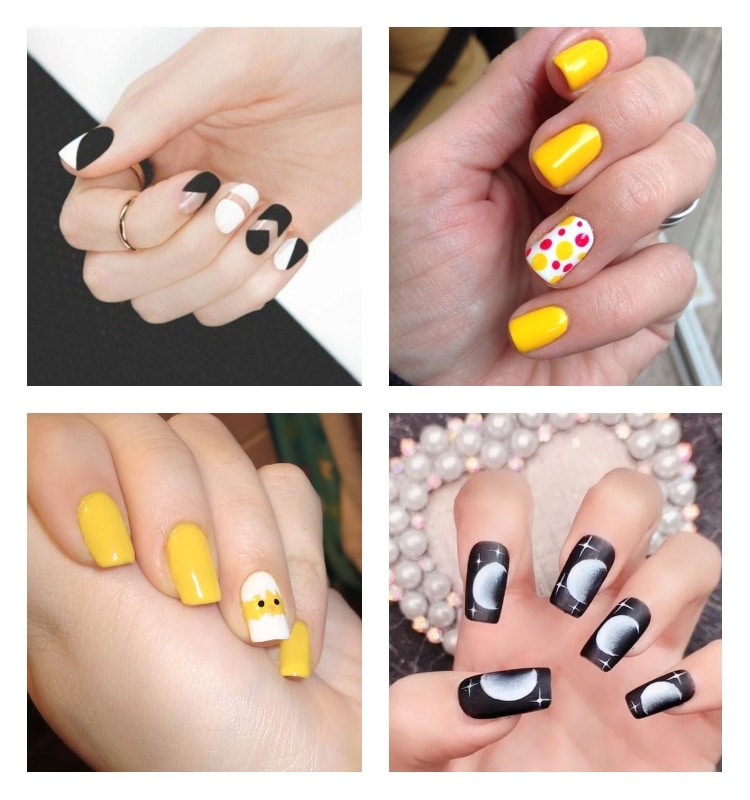
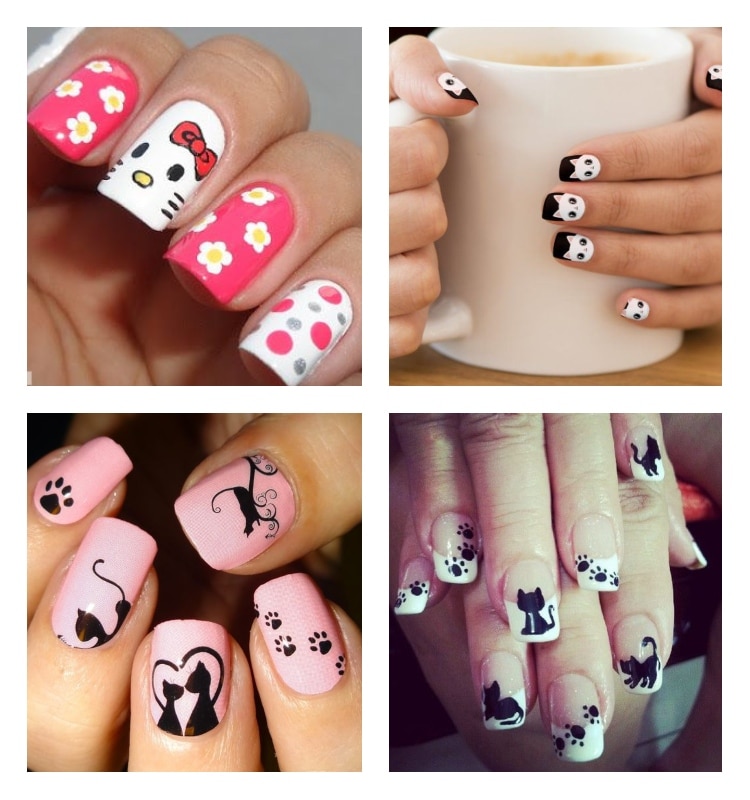
7. Kitty Cat Design
Black nail polish is applied making two triangles through half-moon and painted with a thin brush. Cat’s face can be made by drawing a fine eye with it. The top layer should be drawn to get a good finish.
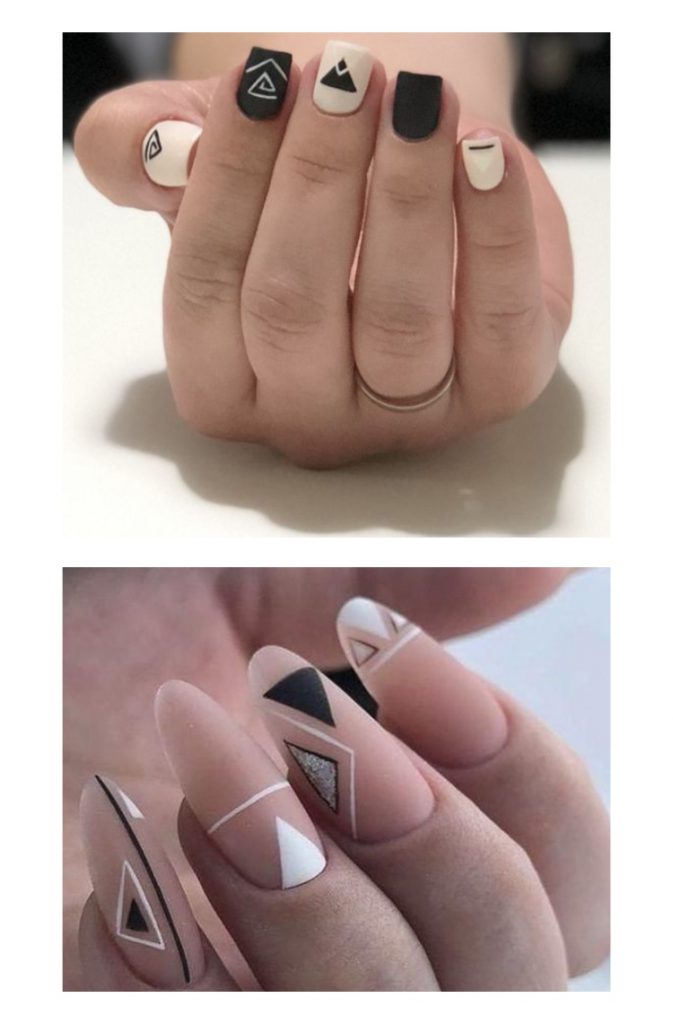
8. Triangle Art design
Ant two contrast color can be used to get the design with the help of scotch tape the edges can be drawn finely.
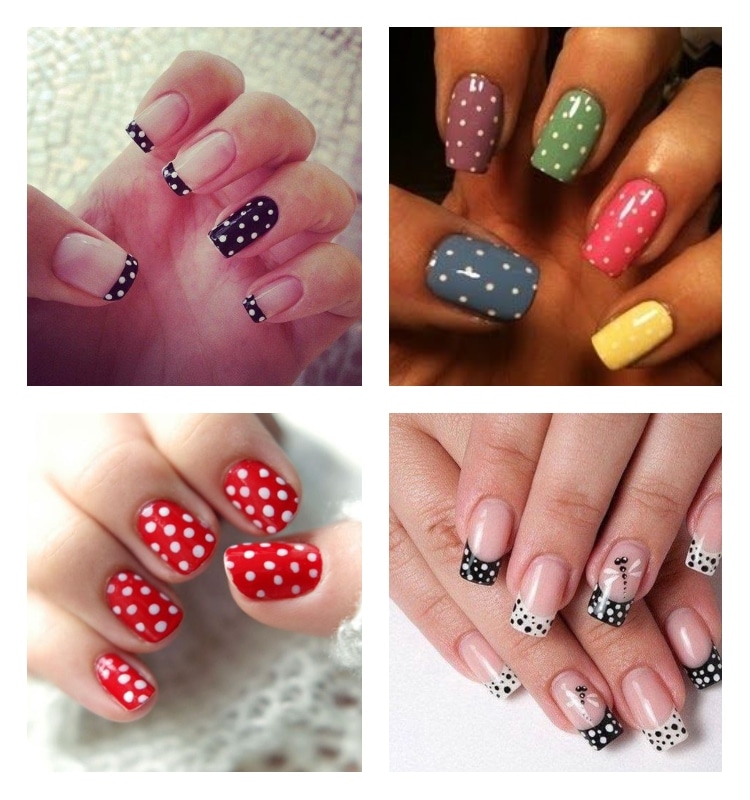
9. Elegant and Eternal Polka Dots
The design can be attained by using black nail polish and the other shades with a brush or bobby pin. After applying the coat of base color the other colors can be applied through a thin brush of other shade. The step number 3 should be repeated to apply the second shade on the nail. Apply top coat for finishing.
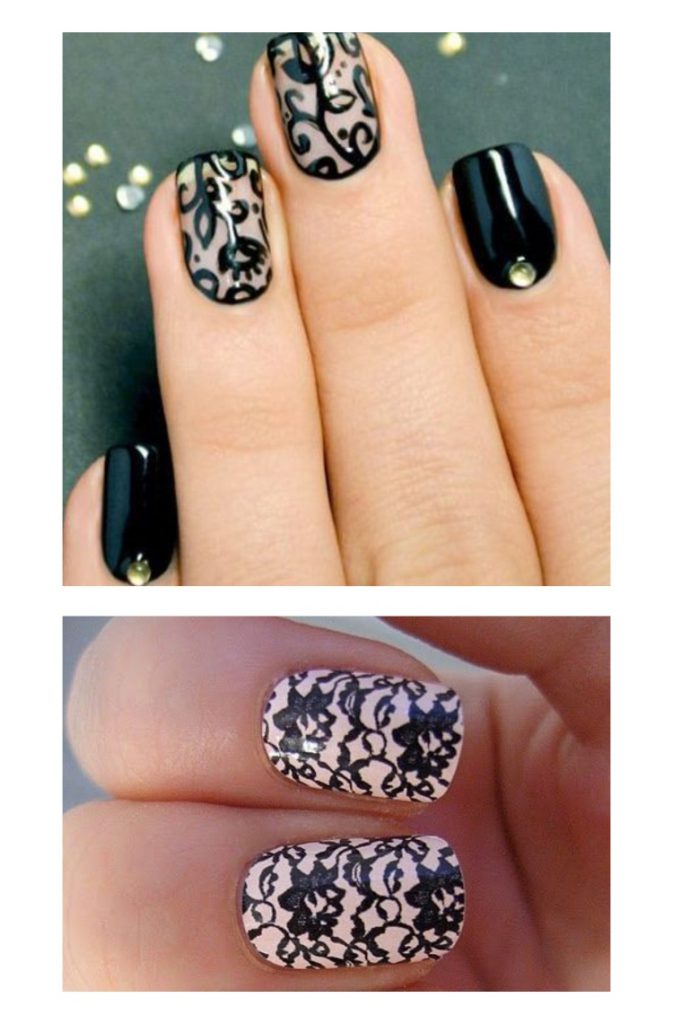
10. Racy Lacy Nail Art Design
It requires a black polish with scotch tape and lace trimmings. After the coat of base color, it should be secure with scotch tape and the other coat of white Polish should be applied over the lace and the stroke should be in the direction of pull off to get a good finishing.
11. Rainbow Marbled Art
A bowl with some water and a paintbrush should be used by applying the VIBGYOR shades on the nail and blend it correctly.
12. Earn your Stripes
The stripes should be drawn with various shades of paint and with the help of fan brush, the colors should be blended. Turquoise shade paint can be used as a base color.

Hope we able to help you in selecting the best nail art Designs for your nails.


