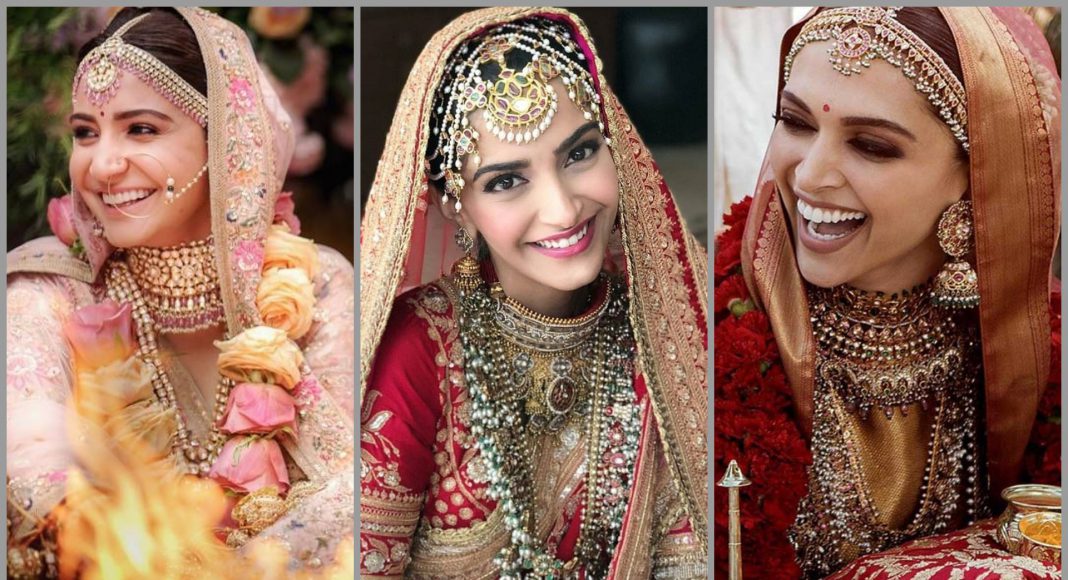
Want to try your hands on your face for the next wedding?We’ll help you out as here we present the perfect steps you need to climb for attaining that lovely angelic and glowy look , that too YOURSELF!!!!!!
- CLEANSING:
Well, that doesn’t sounds like a make up thing but you know what? It’s the real base of a perfect glow that you are going to radiate that special day. YES! For your make- up to do the wonders you also have to uplift your natural skin before you get indulged in the real make-up portion.
All you have to do is make a face pack from some earthy and natural ingredients that looks like the following:
Ingredients:
- 2 teaspoon Sandlewood powder
- 1 teaspoon Fullearth’s powder
- 1 teaspoon Neem powder
- few drops of Rose water
Method: Mix the ingredients well to form a smooth paste and apply it on your face. Leave it on for 10 minutes .
After 10 minutes massage your face with the mask on in rolling motion very gently and then wash off with Cool water.
You are promised to get a fresh, detoxified and glowing skin.
- MOISTURISING:
Another important step after cleansing,especially in Winters, is to provide moisture to your skin with a natural moisturiser so that it doesn’t become too dry for applying your make up.
Take a pinch of the moisturiser , spread it on your palms and apply evenly on your face.
Personal suggestion- Aloevera moisturiser cream from Oriflame.
- FOUNDATION
Here starts your basic make-up.
Be it a building or a perfect make-up, the foundation is very essential to hold the entire buil-up. Hope, that makes it importance clear :)
Apply the liquid foundation on the air- brush. Make sure the amount of foundation on the brush is not extra than required. Apply evenly throughout your face and neck for flawless finish. This will prevent the make-up from cracking.
(Don’t forget your neck, everything on the face and nothing on the neck can let your make-up look quite funny)
- CONCEALER
The name says it all. Yes, it conceals all your blemishes, dark spots and under-eye circles but one has to be a little careful while applying it.Look in the picture to find that out.
Blending your concealer out with your RING FINGER can be the best way of doing it.
- APPLYING COMPACT POWDER
Take the loose powder on the puff and pat the excess off. Make sure you are not exceeding the limit. If you use too much powder and do not pat the excess from the brush then your foundation may become cakey and the texture of your skin, especially if its a dry one, willnot be good.
- HIGHLIGHTER
After concealing the unwanted spots and blemishes, and making it all smooth with the compact powder, Highlighting some portions of your face can uplift the whole look as it brings out the extra bit and contours your features well. For example- Applying it on your cheek bones can enhance its upliftness.Follow the picture below to know how it works:
With a little broad brush, highlight the features you want or need to and get the enhanced effect of this sort.
- EYE-MAKEUP
Here comes our personal favourite section of the tutorial and probably the most Enjoyable one. IT’S FUN!
Though the image explains it all, following are some important tips for a perfect eye make-up:
- Make sure your upper eye is free from oil or grease to avoid a smudge while the application of multiple products.
- For a perfect eye-liner application,look straight in the mirror and contour the outer corners of the eye. Try to put it as close to the lashes as you can to give it a natural touch.
- Blend 2-3 similar tones together when applying the eye shadow , to bring out the colour uniqueness, making the outer part darker and dense.
- Be it the liner, the shadow, or the mascarra , Apply it Always in the OUTER MOTION.
There you go! A perfect Eye make-up if you have followed the above image and tips.
- BLUSHER
When all the make up settles down on your skin like a complete adaptation, BLUSH AND POUT OUT to apply a soft colour blusher which is going to make people admire you whenever you smile or blush out of the compliments that your are going to get.Follow the following steps to apply it the right away.
YES OFCOURSE! You actually have to pout out while applying it for best results.Oh! You thought I’m joking? :p
- LIP STICK AND GLOSS
Last but not the least at all, the Hero of the show continues to be our lip colour and that shimmering gloss on top of that.
Choose the color tone that suits your skin colour and follow the image:
Note: Moisturising is a very important step for your lips before applying any colour on it or your lipstick will sway apart.
The perfect gloss is the one which doesn’t overpowers the colour of your lipstick but adds an amazing shine to it.
OKAY? ALL SET? Take your brushes , place a chair in front of the mirror and just START. Occasion is in the coming week? DOESN’T MATTER. Practice it out now as it will make you like a perfect professional , the more you do it :P


